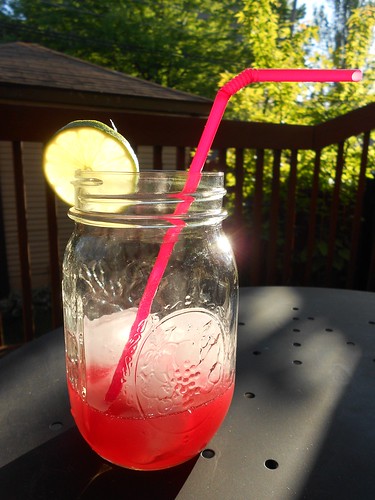
Well, hello, and happy Wednesday! There is someone I would like for you to meet. The newest addition to the Coppertop family arrived on November 9, and after one whole month of blissful, exhausting, amazing time together, our little Anne is ready to say hello.

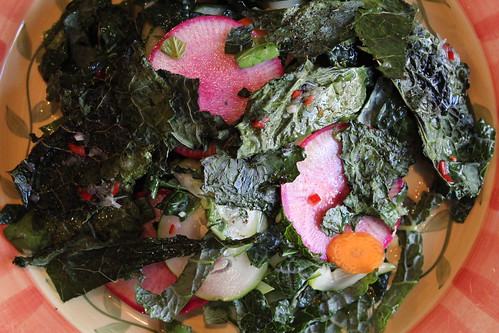
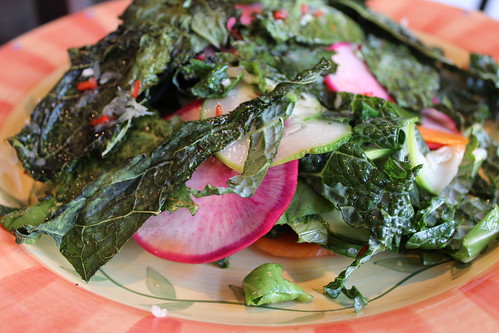
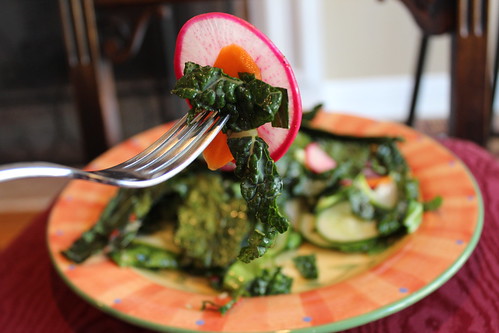
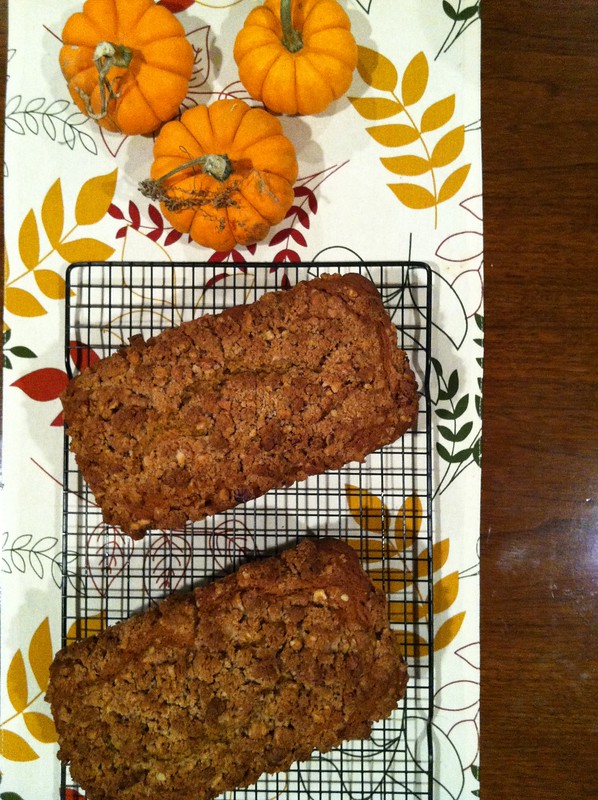
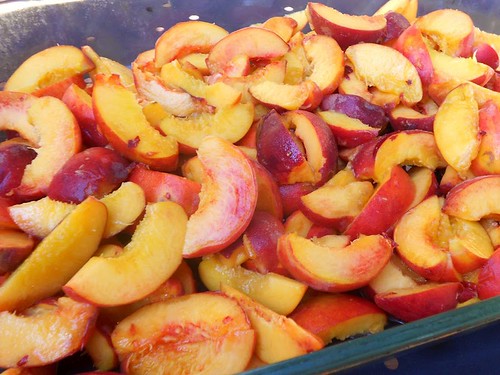
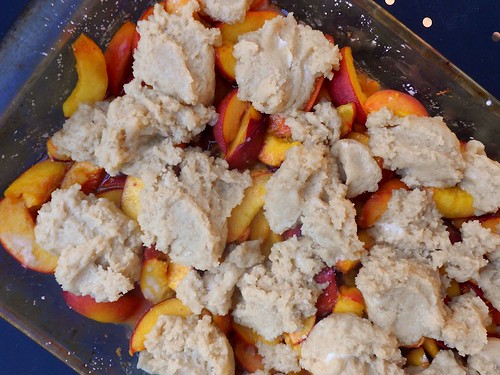
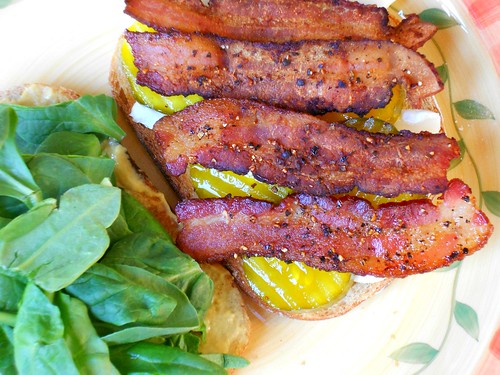
As you can imagine, things are a little different in my kitchen right now. I'm glad that I compulsively grocery-shopped in the weeks leading up to Anne's arrival, because having a stocked-to-the-gills freezer, fridge and pantry has helped me throw together a lot of quick meals. Baking is at a minimum for now, although we are starting to settle into a groove which allows me a little more freedom. I'm hoping I'll have time for at least one batch of Christmas cookies.
I feel more like myself than I ever have in my life; more fulfilled, more happy, more comfortable in my skin. I am living out my vocation. It is harder than I thought, requires more of me than I expected, and is infinitely more rewarding than I had dreamed. At times I just stare at my girl and marvel that she is mine. What a spectacular Christmas gift!

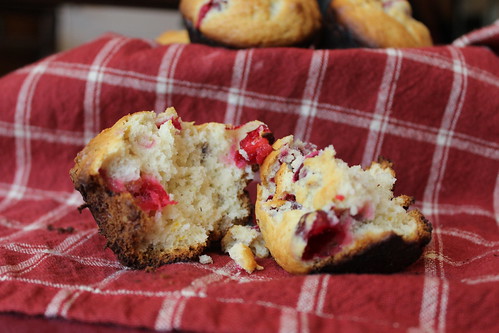
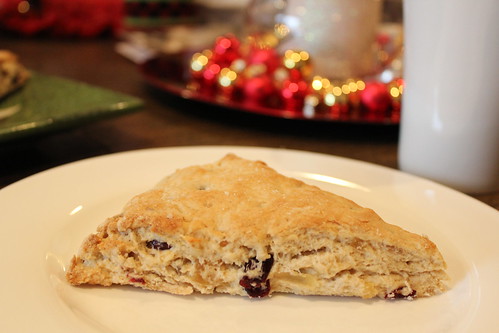
Cranberry Ginger Scones
3 cups all purpose flour
1/3 cup sugar
1 teaspoon ground ginger
2.5 teaspoons baking powder
1/2 teaspoon baking soda
3/4 teaspoon salt
12 tablespoons butter
1/3 cup chopped crystallized ginger
3/4 cup dried cranberries
1 cup buttermilk or kefir
Optional glaze:
1 tablespoon heavy cream
2 tablespoons granulated sugar
Preheat the oven to 425 degrees. Combine flour, sugar, ground ginger, baking powder, baking soda and salt in a large bowl and whisk together. Cut the butter into small pieces and use your fingers or two knives to work it into the dry ingredients, until the mixture resembles fresh bread crumbs. Add the crystallized ginger, cranberries, and buttermilk or kefir, and stir together until just combined. Turn the dough out onto a lightly floured surface and knead lightly twelve times. Pat the dough into a circle about 1/2 inch thick. For the glaze, stir together the cream and sugar in a small bowl and brush over the top. Cut the dough into 12 pie-shaped wedges and place about 1 inch apart on a baking sheet. Bake about 12 minutes, until tops are golden. Serve hot.