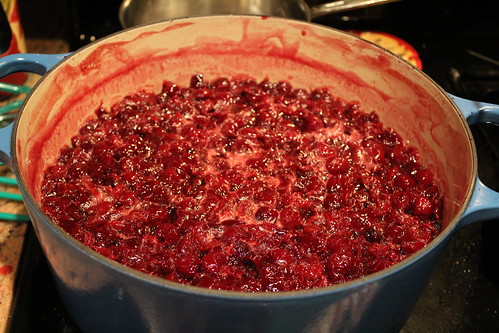
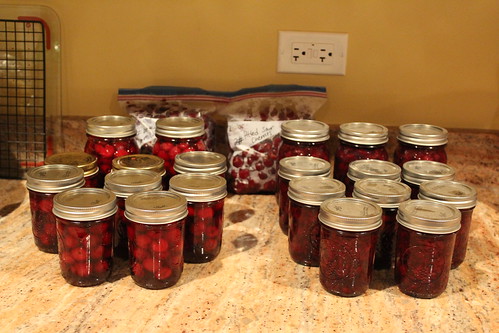
In August, I took my first nervous, hesitating step into the wide world of canning. It's been a lot of fun playing with different recipes, learning about acidity and pectin, and listening to the Coppertop Guy's half-joking concerns about
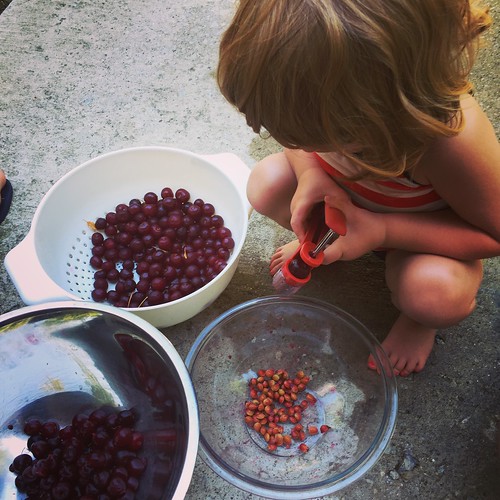
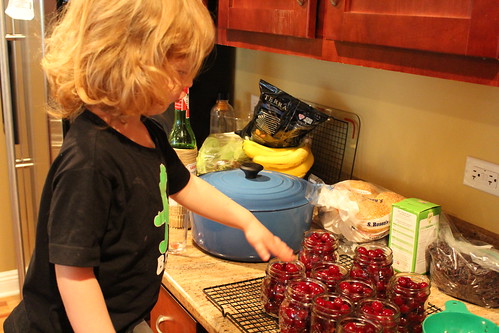
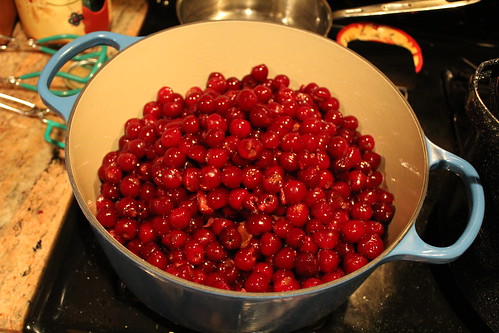
botulism. The first thing I canned was several pints and half-pints of Traverse City tart cherry jam, which turned out beautifully. It gelled. It tastes amazing. All the jars cooperatively sealed, with their satisfying little
*pop* that could be heard from the other room. Since then, I have canned several other batches of yummy things:
- Peach-lavender jam
- Peach halves in simple syrup
- Lord Grey's Peach Preserves
- Mixed heirloom tomatoes
- San Marzano tomatoes
- Un-labeled red tomatoes from the market
This weekend, I'm going to can what's left of the half-bushel of Roma tomatoes that I picked last weekend, raspberry jam, and
peach butter. Doing all this canning has made me feel like I'm taking full advantage of the almost embarrassing bounty of the market this time of year, and is a giant step toward year-round local eating. It feels like a solution to the problem of mid-winter scarcity, rather than a sad compromise. If I don't put up the food that's so irresistible and amazing right now, come January I'll have to decide between food that traveled half the globe to get to me (and tastes like it), or hold out until spring to eat myself silly on fresh food again. Not this year! This winter, I will remember the
fresh tomato sauce that was so delicious that I actually licked my plate, and instead of sighing and waiting until August to taste it again, I will just pop open one of my big jars of tomatoes!
Have you canned things before? Does canning intimidate you? Do you think it's worth it? I've found so many resources online that have outlined the proper way to process the jars, and helped me to feel sure that I'm being safe. Marisa of
Food in Jars has put my mind at ease many a time this summer, when I wanted to know exactly
how to properly acidify and de-bubble a jar of tomatoes, or when I took a batch of canned tomatoes out of the canner and wondered
why the eff they were floating in an inch or two of liquid. As my stock of jars grows, I just feel so satisfied, like I've bottled up a little bit of summer to savor later.
Lord Grey's Peach Preserves
adapted from Bon Appetit, August 2011
A couple of notes about this recipe: the yield BA gives is 2 pints. Maybe I just didn't boil my preserves long enough, but I boiled for the prescribed amount of time, and the recipe yielded 4 pints. Good thing I had extra jars on hand. They're a little runny, but I think I like that. A little runny makes them better for stirring into yogurt, oatmeal, and batters, and spooning over ice cream for dessert. Also, I've been having spotty results with blanching peaches. Sometimes the skins loosen, and sometimes they just stay stubbornly attached to the peach. If anyone knows the secret to this, please do share. I think it just has to do with the fact that some peaches are a little riper than others.
5 pounds ripe peaches (A quart container is usually about 2 pounds)
4 cups sugar
2 tablespoons fresh lemon juice
5 Earl Grey tea bags, or 3 tablespoons loose Earl Grey tea
Bring a pot of water to a boil. Cut a small x in the bottom of each peach, and drop them in the boiling water until the skins loosen, about 1 minute. Plunge into an ice water bath, and then peel the skins off. Halve each peach, and then slice into 1/4-inch pieces. Combine with sugar and lemon juice in a large heavy pot, and set aside for 30 minutes. Place 2 tablespoons of loose tea in a bouquet garni bag (or remove tags from individual tea bags) and add to the pot with the peaches. Crumble the remaining tea slightly, and add it as well. Bring mixture to a boil, and cook gently for 20-25 minutes.
In the meantime, place lids in a small saucepan and heat over low heat until steaming, but not boiling. Turn off heat and set aside for 10 minutes to allow the rubber seals to soften. Bring a giant pot of water to a rolling boil, and boil your clean jars for 10 minutes.
Ladle the hot preserves into the hot jars (use a funnel, it really helps with the mess), seal and process in boiling water for 10 minutes. The processing time starts after the water is boiling, so if the water stops boiling when you add the jars, wait until it returns to a full boil before starting the timer.
Using tongs, remove jars to a cooling rack with a kitchen towel on top, and leave undisturbed until fully cool and sealed, up to 23 hours. You may hear a little
*pop* when the jars seal, but if not, just push the tops. If they're solid, you're good to go. If they give a little (you can press down on the lid), just put them in the refrigerator and use up within a week or two.